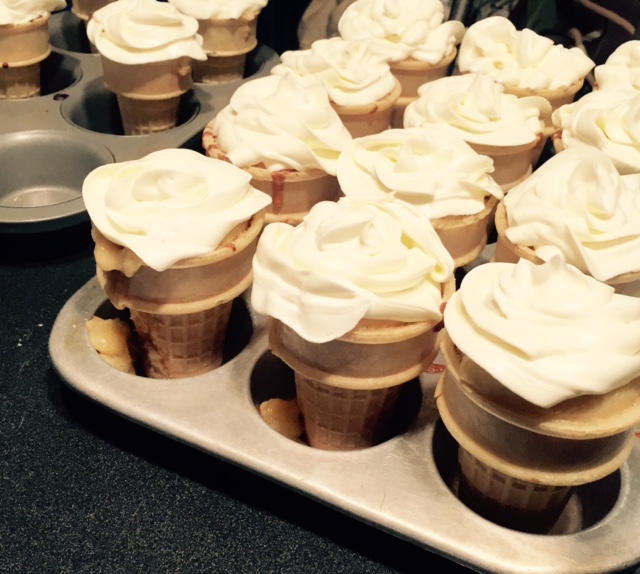
Yes, these are cupcakes…in ice cream cones…cupcake cones, I call them. They’re cupcakes that wannabe ice cream.
Cupcake Cone Recipe
Easiest recipe ever and these cupcake cones make a delightful crowd pleasing dessert. Plus it’s fun to watch people try to eat them, icing inevitably goes up the nose.
Ingredients:
12-24 flat-bottom ice cream cones (I used 12 jumbo sized cones and had enough leftover batter for 4 mini cones)
1 box white cake mix (follow recipe on the box for making the cake batter)
3 eggs (it says use only egg whites but I don’t waste the yolks, I use the whole eggs)
Vegetable oil
Water
1 tsp vanilla extract
2 drops of almond extract
3/4 cup white chocolate chips
Directions:
Preheat the oven according to the box of cake mix and follow the cake batter recipe mixing in the ingredients as specified. Stir the vanilla and almond extract into the batter, and then stir in the white chocolate chips.
Stand the jumbo ice cream cones in a muffin tin and spoon the batter into them, almost filling them to the top, but leaving about a quarter of an inch. When baking, they should rise to fill the cones evenly, or rise slightly above. Bake for about 20-25 minutes and let cool completely before frosting.

Amaretto Frosting Recipe
Time: 10 minutes
Makes about 2 cups (*you can substitute vanilla for almond to make vanilla frosting*)
Ingredients:
2 tablespoons heavy cream
1 tablespoon almond extract
pinch of salt
2 1/2 sticks unsalted butter, softened
2 1/2 cups powdered sugar
Directions:
Stir together the heavy cream, almond, and salt in a small bowl until the salt is dissolved.
Beat the butter with an electric mixer using the paddle attachment on medium-high speed until smooth and creamy, about a minute. Reduce the speed to low and slowly add in the powdered sugar, beating until the mixture is smooth 4-5 minutes. Beat in the cream mixture and increase the speed to medium-high, beating until the frosting is light and fluffy, about 6-8 minutes.
Fill your piping tool with the frosting and ice the cooled cupcake cones. Decorate with sprinkles, because why not?

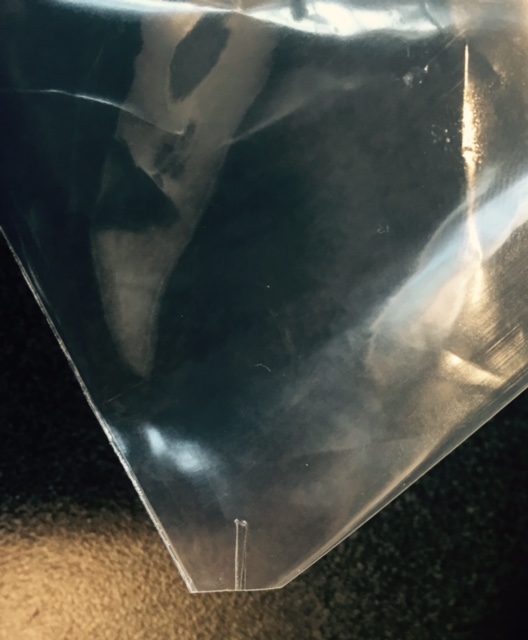
As far as frosting these cupcakes, I didn’t use any fancy kind of baking tool. My method, as usual, was to cut the tip off of the bottom of a ziplock sandwich bag and then make a second tiny slit perpendicular to my first cut, so that when the icing squeezes out of the hole I’ve cut, it has four corners.
To fill the bag with icing, put your fist in the bag to open it up and stand it in a tall standing cup or glass with the top of the bag folded over the edge of the glass. This is the easiest way to fill the bag with icing and then seal it closed without air so it’s completely mess free! Then, I hold the icing bag (ziplock) and start with the tip on the outside edge of the cupcake cone and continually swirl clockwise into the center of the cupcake making the rosette shape with frosting. It may sound complicated, but it’s way easier that it seems, and it takes a few tries to get them looking good, so don’t get discouraged.
True confessions of a baker…these cupcakes are difficult to cover up and preserve over night. I tried lightly covering them with plastic wrap and transporting them into the fridge, however, I had one fallen soldier (and a few got a little smashed, I got icing all over myself). Even the cupcake that hit the floor was absolutely delicious. I have to admit that I ate it off the ground, it was too good to waste. I scraped the icing off and topped it with new icing…As a matter of fact, I had to add a spoonful of frosting to each bite of my cupcake cone. The more frosting the better! As my friend likes to hastag, #dontwasteitletmetasteit.

Sweet tooth to sweet tooth,
Chelsea
